In a previous article, I highlighted a method of developing Lambda locally withhout the use of a framework.
However, after testing out AWS SAM CLI, I realised there are several advantages of using it, namely:
-
It’s able to bootstrap and create a template of your lambda application for you based on your specifications including the runtime. It can generate a scaffold application including the relevant code files and configuration for working on straightaway.
-
The bootstrap even created unit tests and events with instructions on how to test your lambda application.
-
It supports building Lambda applications using Docker and includes SAM templates which are based on Cloudformation to create and deploy the infrastructure.
-
We can invoke the lambda function locally via the browser so removes the need for a proxy server running. It also creates an API gateway endpoint automatically to proxy the requests to lambda.
For the purpose of this article, I’m going to assume we are creating a simple Python AWS Lambda using the AWS SAM templates. When you run the sam cli interactively to create the project scaffold it will prompt you to select a sample project from a list. These templates are located in AWS SAM templates. We can invoke the init command to create a new project like so:
sam init --name custom_sam_sample_app \
--package-type Image \
--base-image amazon/python3.12-base \
--app-template hello-world-lambda-image
The above creates a directory with the provided name and the following structure:
├── events
│   └── event.json
├── hello_world
│   ├── app.py
│   ├── Dockerfile
│   ├── __init__.py
│   └── requirements.txt
├── tests
│   ├── unit
│   │   ├── __init__.py
│   │   └── test_handler.py
│   └── __init__.py
├── __init__.py
├── README.md
├── samconfig.toml
└── template.yaml
The lambda source code is located in hello_world in this example as we are using the hello-world-lambda-image. Note it also created a Dockerfile. The events folder contain a sample event based on the application which we can use for testing. The tests directory contain a scaffold unit test for the lambda handler which we can customize for our own test cases.
template.yaml define the actual AWS resources to be created when you run sam deploy. It uses AWS SAM Specification, which is based on CloudFormation. During deployment, the specification is translated in the background to Cloudformation specification which creates working stacks for the resources. samconfig.toml stores the parameters used by SAM CLI.
We need to create the Docker image first via build call:
sam buildThis creates a .aws-sam folder which contains the Cloudformation template for deployment.
To deploy the Lambda application we can run:
sam deployThis will create a Cloudformation stack with the stack name specified in samconfig.toml and provisions the resources defined in template.yaml. Once completed, we can retrive the APIGateway endpoints for testing:
sam list endpoints --output jsonNote that by default, SAM generates a single APIGateway resource with PROD stage. This shouldn’t be an issue as we use different AWS profiles for development and production so there is no need to have multiple stages in a single APIGateway. It is possible to define a separate APIGateway resource and link it to the Lambda function in template.yaml but this would result in 2 different deployments with two different APIGateways.
SAM has built-in support for watching changes to local lambda code and rebuilding the image when it occurs:
sam local start-apiThe above creates a localhost processs that acts as a proxy for APIGateway resource.
For it to work properly under SAM 1.112.0, you need to run sam build in a separate terminal locally which triggers a rebuild of the running image:
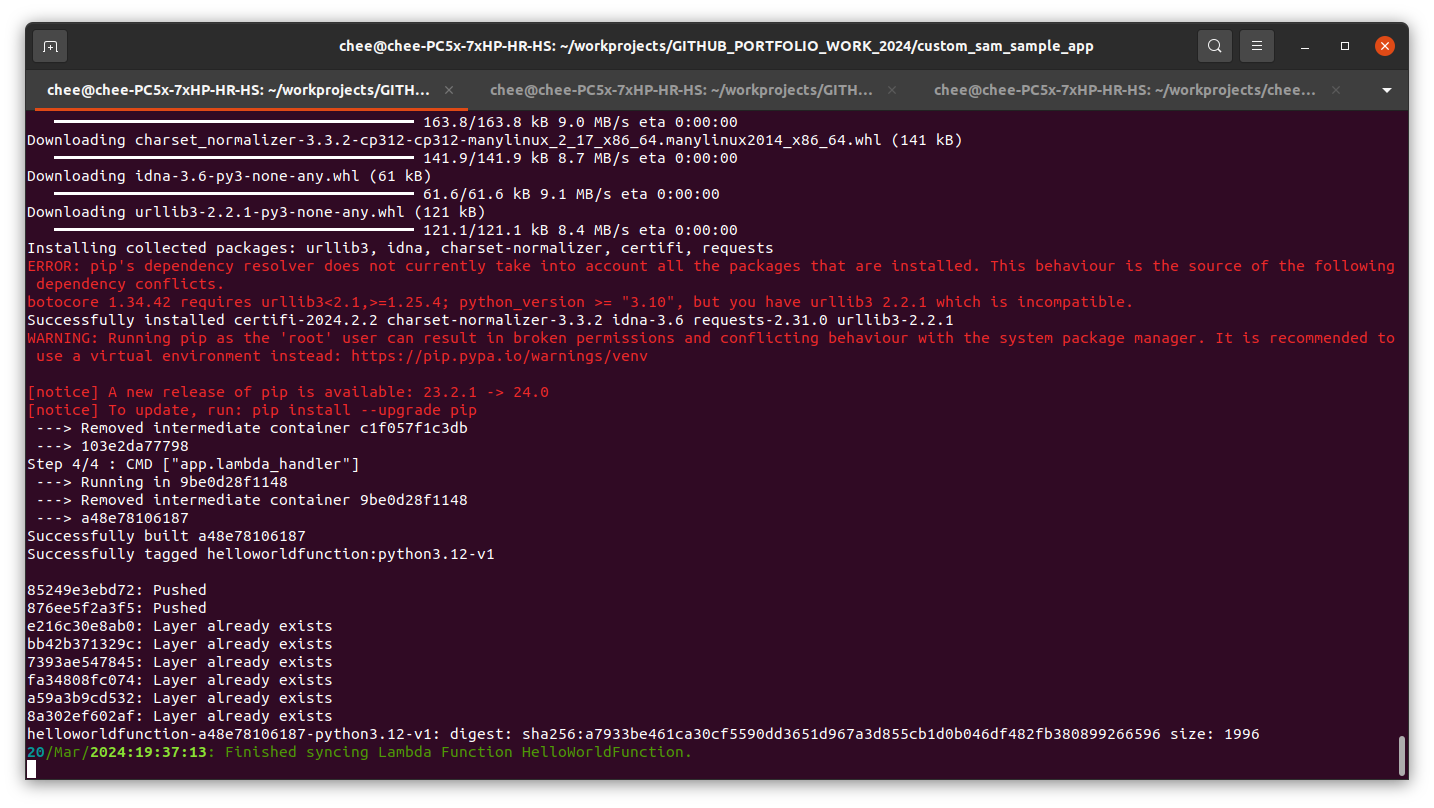
sam buildYou can also run sync which will detect and rebuild the image for re-deployment. However, you will need to supply the ECR image repo due to a known AWS SAM CLI issue:
sam sync \
--watch \
--image-repository <URI of ECR repo created by deploy>
To summarize, we are able to use SAM framework to scaffold a new project from scratch. This includes creating the lambda source code through to creating the deployment templates. It also has support for creating docker images.
The downside is the lack of multi environment support in the form of being able to create different stages on the APIGateway. Also, there is some overhead in learning the SAM Specification in order to modify the deployment task.
Hope it helps someone in experimenting with the SAM framework.
H4PPY H4CK1NG